

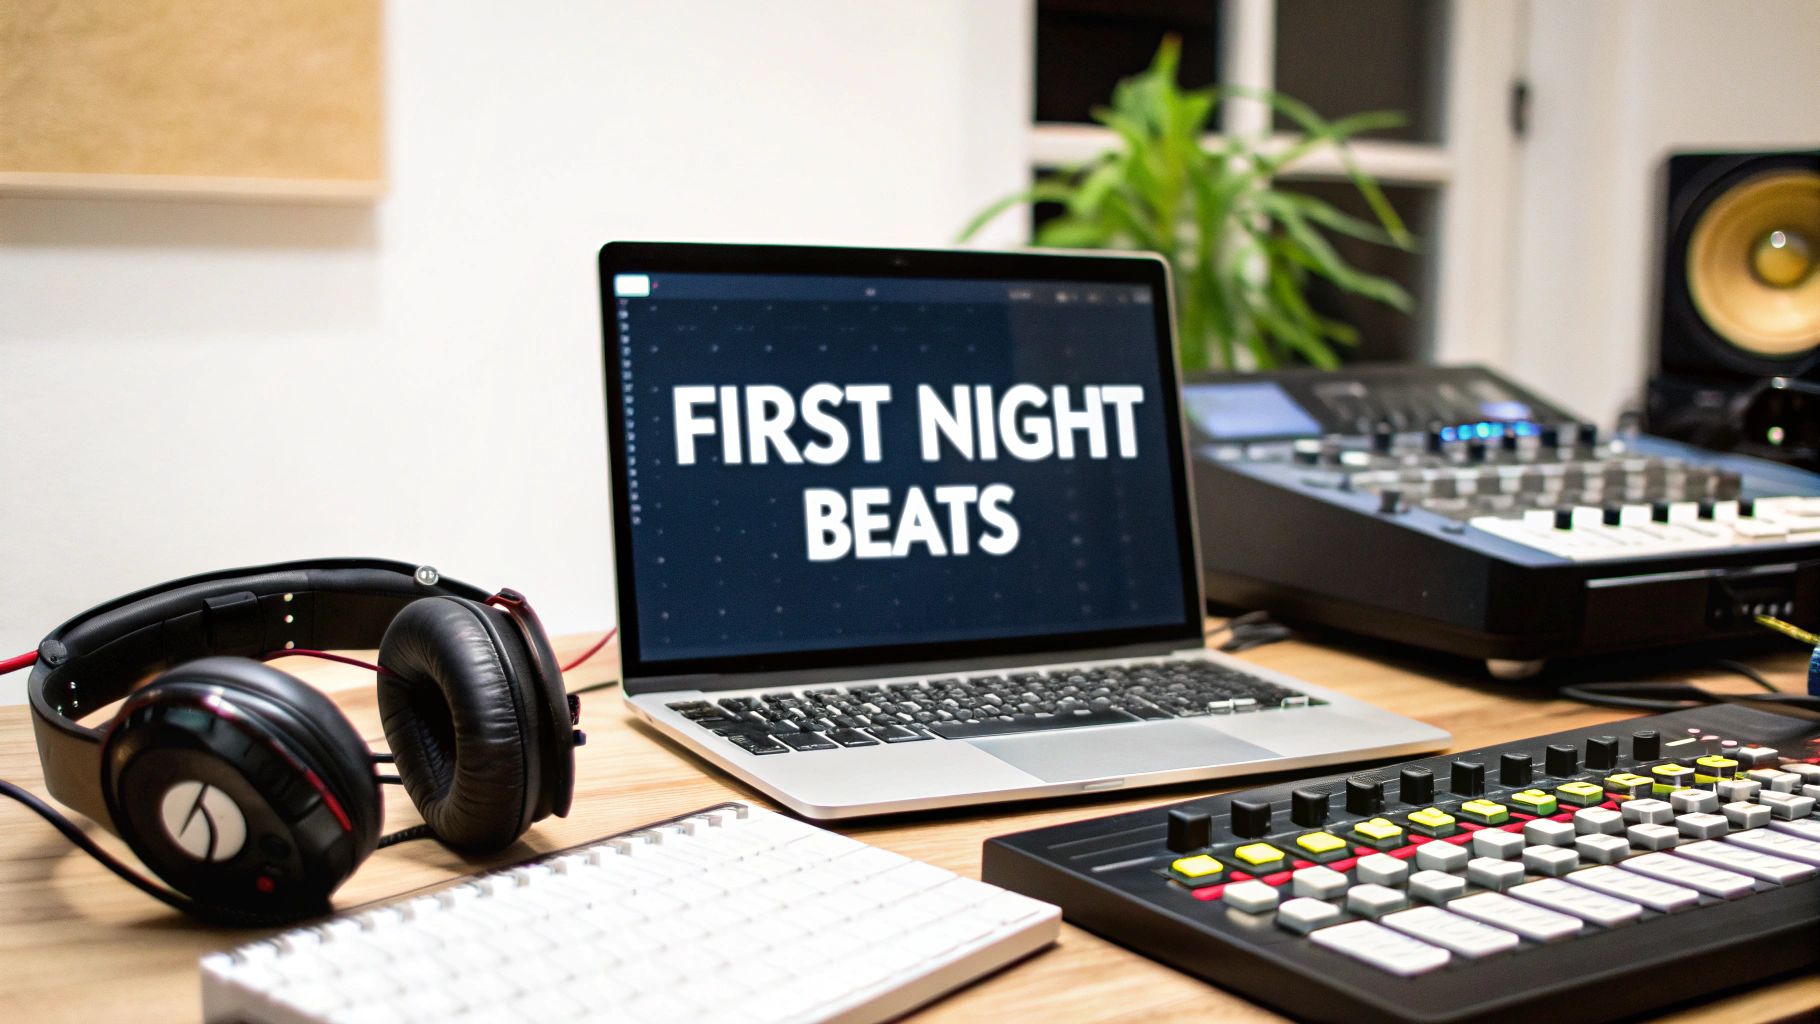

Creating a professional-quality beat hinges on four strategic pillars: selecting your core production environment, curating a unique sonic palette, architecting a compelling rhythm, and layering evocative melodic and harmonic structures. With a focused approach, you can construct your first impressive loop in under an hour, armed with nothing more than a laptop and a quality pair of headphones.
Your First Night in the Production Chair
Welcome to what could be the start of your career as a music producer. Let’s immediately dismantle a pervasive myth: you do not need a multi-million-dollar studio to begin. Tonight, your essential assets are a capable computer, a reliable set of headphones, and the ambition to forge something original from silence.
This guide is not a dense technical manual; consider it your strategic launchpad. We will dissect the fundamental components of a beat and familiarize you with the software that will serve as your creative command center. The entire paradigm of music production has shifted—moving from prohibitively expensive studios directly into the hands of creators in their home offices and project studios.
The barrier to entry for professional music production has effectively been democratized. Your conceptual ideas can materialize into tangible tracks before the night is over, leveraging tools and technologies once exclusive to the industry’s top-tier producers.
The Modern Beat Maker’s Toolkit
Today’s production toolkit is predominantly digital, centered around a powerful software hub. This technological evolution has unlocked the world of music production for anyone with a creative vision.
The ascendance of electronic music production software is a defining trend. Digital Audio Workstations (DAWs) such as Ableton Live, FL Studio, and Logic Pro are the mission-critical tools for producers globally. Market analysis shows that by the mid-2020s, over 70% of emerging producers reported using one of these core DAWs, a stark increase from less than 30% just a decade prior.
This influx of new creators fuels a robust and expanding industry. The global electronic music festival market alone generates approximately $3 billion in annual revenue, signaling significant opportunities for new talent to gain traction. You can explore more data on the electronic music market’s growth to understand the landscape you’re entering.

Before diving in, it’s crucial to internalize a few key terms. This isn’t a vocabulary quiz; it’s the professional lexicon you’ll need to navigate the production landscape effectively.
To ensure clarity, this reference table outlines the core terminology you will encounter on day one.
Essential Beat Making Terminology
| Term | Strategic Importance |
|---|---|
| DAW (Digital Audio Workstation) | Your virtual studio environment. It is the software platform where you will record, arrange, mix, and finalize your productions. |
| Samples | Your fundamental sonic building blocks. These are discrete audio clips—a single kick drum, a piano chord, a vocal phrase—that you will assemble into a cohesive whole. |
| BPM (Beats Per Minute) | The tempo, or speed, of your composition. A classic hip-hop track typically sits around 85-95 BPM, whereas a house track is generally faster, around 120-130 BPM. |
| Sequencer | The tool within your DAW, often visualized as a grid, where you place sonic elements to construct rhythmic and melodic patterns. It dictates the timing of each sound event. |
Internalizing these concepts is your foundational first step. Once this lexicon is part of your working knowledge, you are prepared to begin assembling the components of your first beat.
Finding Your Beat-Making Home Base

Before you lay down a single kick or snare, you need to establish an operational environment for your ideas. This is your Digital Audio Workstation, or DAW. View it not merely as software, but as your personal studio, command center, and creative laboratory—all integrated into one powerful system.
Selecting a DAW can feel like a monumental decision, and in many respects, it is. The objective is not to find the “best” DAW in an absolute sense, but to identify the one that aligns most seamlessly with your creative process, becoming an invisible extension of your intent.
How to Pick the Right DAW for You
Every major DAW is capable of producing world-class music, but each embodies a distinct workflow philosophy. The critical question isn’t “Which DAW is superior?” but “Which DAW’s architecture best complements my creative methodology?” Let’s analyze three market leaders and the production styles they cater to.
- FL Studio: The Trap and Hip-Hop Powerhouse. For rapid idea generation, particularly in loop-centric genres like hip-hop and electronic music, FL Studio is an industry staple. Its legendary step sequencer allows for the intuitive construction of an 8-bar drum pattern in minutes. This velocity of creation is why generations of producers leverage it for fast and efficient beat-making sessions.
- Ableton Live: For Performing and Pushing Boundaries. Do you envision your work extending beyond the studio to live performance? Ableton Live was engineered for this purpose. Its paradigm-shifting “Session View” transforms your beat into a playable, improvisational instrument by enabling real-time triggering of loops and musical phrases. This makes it the undisputed leader for live electronic performance and creative experimentation.
- Logic Pro: The All-in-One Songwriting Studio. For Mac-based creators, Logic Pro offers unparalleled value. It presents a more traditional, linear-timeline workflow reminiscent of a classic recording studio. It comes bundled with a massive, professional-grade library of virtual instruments and effects. For producers planning to integrate vocals or live instrumentation, Logic provides a polished, comprehensive ecosystem.
Analyst’s Note: Avoid analysis paralysis when choosing your DAW. All leading platforms offer free trials. Dedicate a week to hands-on experimentation with each. The optimal choice will become apparent; it will feel less like a tool you are wrestling with and more like a fluid extension of your creative ideation.
The Generative AI Paradigm: Your New Creative Partner
Beyond the traditional DAW, a new class of tool is emerging as a powerful creative accelerant: generative AI. These platforms are not designed to replace the artist but to serve as a high-powered creative catalyst. Imagine generating a novel chord progression or sourcing the perfect sample from a vast library simply by describing the sonic texture you envision.
Platforms like Legaci.io are at the vanguard of this movement, developing generative tools that function as a creative collaborator. They can spark ideas you might not have conceived of independently, providing a unique foundation upon which to build.
As you embark on your production journey, view these AI tools as a strategic asset. The core creative work remains within your DAW, but AI can be the spark that ignites the entire process. The future of beat making lies in the synthesis of your unique human artistry and these incredibly powerful generative technologies.
Crafting Rhythms That Feel Alive
The core of any impactful beat is its drum pattern. This is where the groove—the visceral, kinetic quality that compels movement—is born. Let’s engage in the practical application of building your first rhythm, focusing on feel and micro-dynamics over mere note placement.
Move beyond generic, robotic loops. We will construct a groove with authentic character. Your first task is sound selection. A punchy kick, a crisp snare, and hi-hats with the right amount of sizzle are your primary components. Dedicate time to auditioning sounds within your DAW’s browser; the right sonic textures will often dictate the pattern you create.
With your kit selected, open your DAW’s step sequencer or piano roll. This grid is your rhythmic canvas. We will begin by establishing a foundational backbeat—the “boom-bap” architecture that drives countless hits.
- Position your kick drum on beats 1 and 3.
- Position your snare drum on beats 2 and 4.
- Add hi-hats on every eighth note to establish a steady rhythmic pulse.
This is your framework. Now, let’s infuse it with life.
Breathing Life into Your Drums
A static, perfectly quantized drum loop is the hallmark of an amateur production. The art lies in subtle, intentional imperfections. This is the transition from programming notes to producing a rhythm with genuine feel.
A primary technique for achieving this is manipulating velocity. Velocity is the measure of how hard each individual drum is struck. Instead of uniform hi-hat volume, try reducing the velocity of the “off-beat” hats. This simple adjustment immediately introduces a more human, less mechanical feel. Apply the same logic to your kick and snare; perhaps the second kick hit is marginally softer than the first.
The objective is to emulate the micro-dynamics of a live drummer. No human percussionist strikes a snare with the exact same force every time. These minute variations in velocity are what allow a rhythm to breathe and feel dynamic.
The next critical element is timing. Intentionally placing notes slightly off the grid—a technique known as applying swing or shuffle—can inject an undeniable bounce into your track. Most DAWs feature a global swing parameter for experimentation. Even a subtle application, around 10-20%, can transform a rigid pattern into a compelling groove.
This diagram illustrates the essential workflow for locking in your rhythm’s core timing.

As depicted, defining your tempo (BPM), setting the time signature, and then applying swing are the foundational steps for creating your rhythmic bed. Adhering to this workflow ensures your beat possesses both structural integrity and an innate human feel.
Of course, the creative process is no longer confined to traditional tools. Many forward-thinking producers are exploring how generative technologies can influence their rhythmic decisions. For those interested, you can learn more about how AI tools for content creation are being leveraged to generate novel rhythmic concepts, offering a new wellspring of inspiration.
By integrating these fundamental techniques with modern tools, you can craft beats that are both timeless and innovative. You will conclude this section not with a sterile loop, but with a dynamic drum pattern that feels genuinely alive.
Giving Your Beat a Soul with Melody and Bass
You’ve engineered a compelling drum loop. It possesses bounce and energy, but it currently exists as pure rhythm. This next phase is where true artistry emerges—where we infuse that rhythm with life and transform it into a piece of music with a distinct emotional core. We are going to layer melody and bass.
Do not be intimidated by music theory. A formal conservatory education is not a prerequisite for this process. We will focus on practical, effective techniques that yield professional-sounding results quickly. Beat-making is an exercise in layering, and it’s time to add the harmonic and melodic content that will define your track’s character. Is the mood contemplative? Aggressive? Euphoric? The melody is your primary narrative tool.
Finding Your Harmonic Foundation
Where do we begin? Often, the answer lies within your kick drum. Many modern kick samples are tuned to a specific musical pitch. This information is frequently available in your DAW’s file browser, or can be identified with a simple tuner plugin.
Let’s assume your kick is tuned to ‘C’. You have just identified your root note. Using ‘C’ as the anchor for your bassline is a professional technique that immediately creates a cohesive and powerful low-end.
From that root note, you can begin to build simple chord structures. We are not composing a symphony. Some of the world’s biggest hits are built on just two or three chords. Start with basic two-note (dyads) or three-note (triads) chords derived from your root note’s scale.
A simple, repetitive two-chord progression can establish a more powerful and hypnotic vibe than a complex one that lacks focus. The goal is to captivate the listener, not to confuse them.
Choosing Your Instruments
Your choice of sonic textures is as critical as the notes you program. This is a significant part of the creative direction. What is the emotional landscape you are trying to paint?
- Dark and gritty trap? A detuned, slightly imperfect piano might be the perfect choice.
- Smooth and soulful R&B? A vintage electric piano like a Rhodes or lush synthesizer pads could provide the ideal texture.
- Upbeat and modern? Bright, plucky synths can carry the necessary energy.
Do not feel constrained by your DAW’s stock sounds (though many are excellent). The world of VST (Virtual Studio Technology) plugins is vast, and there are extraordinary free resources available.
- For Pianos & Keys: Spitfire Audio LABS is an essential resource. They offer an incredible library of world-class instrument plugins at no cost. Their “Soft Piano” is an industry staple for good reason—its quality is exceptional.
- For Synths: Download Vital. It is a powerhouse wavetable synthesizer, available for free, that competes with plugins costing hundreds of dollars. It is a versatile tool for everything from deep, sub-shaking bass to sharp, cutting leads.
And the bass itself? This is a defining decision. Are you aiming for a massive, speaker-rattling 808 for a hip-hop track, or a nimble, funk-infused bass guitar line? The instrument choice completely defines the track’s low-frequency foundation.
Making Your Bass and Kick Work Together
Here is a critical production technique that will immediately elevate your beats. You must ensure your kick drum and bassline are not competing for the same frequency space. When a powerful 808 bass note and a punchy kick drum strike simultaneously, their low frequencies can clash, resulting in a muddy, indistinct low-end.
The classic solution is sidechain compression. The concept is simpler than its name suggests.
You apply a compressor to your bass track that is “listening” to the kick drum channel. Every time the kick hits, the compressor automatically reduces the bass’s volume for a split second. This carves out a precise pocket of space for the kick’s transient to punch through the mix cleanly.
The result is a powerful, transparent low-end where both the kick and the bass have clarity and maximum impact. Every major DAW includes a native compressor capable of this function. Learning this single technique is a significant step towards achieving a professional sound.
Turning Your Loop Into a Complete Song

You have engineered a compelling 8-bar loop. The groove is solid, the sounds are coherent, and it has captured your attention. This is a significant milestone. However, a loop is not a song. Not yet.
This next stage, arrangement, is where true production artistry comes into play. It is the process that distinguishes a beat maker from a producer and a sonic storyteller. You are about to take that core idea and expand it, shape it, and structure it into a complete emotional journey for the listener. This is what creates a memorable and impactful track.
How do we achieve this? Most commercially successful songs adhere to a familiar structure: intro, verse, chorus, verse, chorus, bridge, and outro. We can leverage this as our architectural blueprint. Your role is to strategically introduce and remove elements, creating a dynamic flow that maintains listener engagement from start to finish.
Building Tension and Release
Conceptualize your track’s energy as a wave. It cannot remain at its peak for the entire duration—that is sonically fatiguing and ultimately uninteresting. To make the high-impact moments feel truly significant, you must create contrast. The most effective method for this? Subtraction.
Imagine you are building into a chorus. Immediately before it hits, remove the drums and bass for one or two bars. You create a vacuum, a moment of suspense. Then, BAM—all elements return for the chorus. The impact is amplified tenfold. It is a classic production technique that is effective across all genres for a reason.
Another professional tactic is to incorporate transitional effects, or “ear candy.” These are subtle audio cues that signal an impending change to the listener.
- Risers: The sound of rising pitch and intensity before a drop. This is pure auditory anticipation.
- Reverse Cymbals: A quick “swoosh” that pulls the listener forward into the next section. A simple but highly effective transitional device.
- Downsweeps: The inverse of a riser. A sound that falls in pitch, ideal for de-escalating energy after a high-impact chorus.
These details add a layer of polish and make your arrangement feel intentional and professional.
Begin to actively analyze the arrangements of your favorite tracks. Don’t just listen—deconstruct. Note how they use repetition to build familiarity, while introducing subtle variations to maintain interest. Perhaps the first chorus features only drums, bass, and vocals, while the second adds a synthesizer harmony. These small, calculated changes make all the difference.
Mastering arrangement is not just a creative skill; it’s a valuable one in the modern music economy. The electronic music market is experiencing robust growth, with a projected compound annual growth rate (CAGR) of approximately 7.8% between 2025 and 2033. The market, valued at $13.6 billion in 2024, is forecast to reach $24.64 billion by 2033, driven by software accessibility and streaming. As you become proficient in arrangement, you are developing a skill with real market demand. You can delve into the data in the full electronic music market report.
This concept of narrative structuring extends beyond music. It’s a core principle in many creative domains, particularly with the rise of AI. Knowing how to guide a process and tell a story is crucial. For a parallel application, our guide on how to write effective prompts demonstrates how this narrative thinking is vital in generative AI.
By mastering arrangement, you are doing more than extending a beat. You are transforming a loop into a complete, compelling piece of music.
Putting the Final Polish on Your Track
https://www.youtube.com/embed/9ujDQ8hnywo
We now arrive at the final stage: transforming your well-crafted beat into a finished track ready for distribution. This involves mixing and mastering, but do not be intimidated by the terminology. For now, focus on two primary objectives: clarity and impact.
Begin by listening critically. Play your entire arrangement and ask: what elements are too prominent? Is the snare masking the melody? Is the bassline audible and defined? Your initial step is to adjust the volume faders for each track to achieve a balanced relationship. No single element should dominate; the mix is a conversation between all parts.
Creating Space and Depth
Once the volume levels are balanced, we can create a sense of three-dimensional space using panning. Imagine the stereo field between your speakers as a physical stage. Not every musician stands in the center.
By panning some sounds slightly to the left and others to the right, you create a wider, more immersive listening experience. This simple technique instantly makes your track feel less cluttered and more professional.
Next, we address EQ (Equalization). An EQ is your primary tool for resolving “muddiness” in a mix. A common issue in beginner productions is an accumulation of energy in the low-mid frequencies, roughly 200-500 Hz. When the kick, bass, and synth pads all compete in this range, the result is an undefined mess. A simple solution is to use an EQ to gently “scoop out” a portion of this frequency range from your pad or synth tracks. The resulting clarity is often dramatic.
A touch of reverb can be the secret ingredient that adds the final layer of depth. Try applying a small amount to your snare or lead melody. This places the element in a virtual “room,” pulling the listener deeper into the sonic world you’ve constructed.
With your mix sounding clean and impactful, it’s time to export. You will have several format options, but two are essential to understand:
- WAV: This is your master file. It is a full-quality, uncompressed audio format. Use this for archiving your work and for distribution to streaming platforms like Spotify and Apple Music.
- MP3: This is a smaller, compressed file format. It is ideal for emailing for quick feedback or for posting on social media.
Properly finishing your tracks is your entry point to the global electronic music market, an industry valued at approximately $12.9 billion in 2024. Finishing your work to a professional standard is how you begin to claim your share of that market. You can discover more about the industry’s growth to understand its trajectory. This final polish is analogous to adding titles and graphics to a film; for a similar perspective on professional finishing in a different medium, see our guide on how to put text in a video.
Got Questions? Every New Beat Maker Does

When you are starting out, a constant stream of questions is inevitable. This is not a cause for concern; on the contrary, it is a positive indicator that you are deeply engaged in the learning process.
Let’s address some of the most common questions that present challenges for emerging producers.
Do I Really Need to Know Music Theory?
Categorically, no. You do not need a formal degree in music theory to produce exceptional beats. Consider that many legendary producers who defined entire genres operated purely by ear, trusting their creative intuition over academic rules.
Instead of getting bogged down in theory, redirect that energy toward mastering your DAW. Most modern production software includes features like scale highlighting, which visually guides you to notes within a specific key. This makes it nearly impossible to select a harmonically “wrong” note.
Key takeaway: Your primary mission is to establish a cohesive relationship between your kick and your bassline. For most contemporary genres, a punchy, well-defined low-end is far more critical than understanding the nuances of the Lydian or Mixolydian modes.
How Can I Make My Drums Sound… Less Like a Robot?
This is a pivotal challenge. Overcoming it marks the transition from programming a static pattern to producing a rhythm with authentic groove and bounce. This is a major leveling-up moment for your productions.
Fortunately, you can begin implementing effective techniques immediately.
- Play with Velocity: A live drummer never strikes each component of the kit with uniform force. Therefore, do not leave your drum hits at a single volume level. Manually adjust the velocity of individual notes. A prime starting point is your hi-hats. Making the off-beat hats slightly quieter than the primary ones instantly imparts a human feel.
- Nudge Things Around: Sonic perfection is often uninteresting. Experiment by nudging snare hits a few milliseconds behind the grid. Most DAWs also feature “swing” or “groove” quantize settings that can be applied to MIDI clips. Applying a subtle amount of swing to your hi-hats can create the infectious, head-nodding bounce you’re seeking.
- Add Ghost Notes: These are a producer’s secret weapon. Ghost notes are extremely quiet drum hits placed in the spaces between the main, accented beats. Sprinkling in a few soft snare taps or quiet hi-hats adds a subtle rhythmic complexity that makes the entire groove feel more alive and professional.
What’s the Real Difference Between Mixing and Mastering?
It is common to conflate these two processes initially. While they sound similar, they represent two distinct and sequential stages of production.
Here is a helpful analogy:
Imagine you are baking a cake. Mixing is the process of measuring and combining the individual ingredients. You are adjusting the amount of flour (your kick drum), sugar (your melody), and eggs (your bassline) to ensure they are perfectly balanced and work together harmoniously. The focus is entirely on the internal components.
Mastering is the final presentation. The cake is already baked; you are no longer altering the ingredients. Now, you are applying the frosting, ensuring the overall aesthetic is flawless, and checking the final volume so it is ready to be served—whether that’s on massive club speakers, laptop speakers, or consumer earbuds.
Ready to explore how the next generation of tools can amplify your creativity? At Legaci Studios, we are engineering a platform that leverages generative AI to empower artists like you to overcome creative hurdles and produce truly original work.
Discover how our engine can become your new creative partner. Learn more about Legaci Studios.
Leave a Reply