

To fully harness the power of your video content, you must see it not as a mere moving picture, but as a densely packed sequence of thousands of high-resolution photographs. Unlocking these individual images is the art and science of frame extraction. You can perform this manually with a straightforward tool like VLC Media Player, write sophisticated code using powerful libraries like FFmpeg or OpenCV, or—for true strategic advantage—automate the entire process with a specialized API like the one we’ve built at Legaci.io.
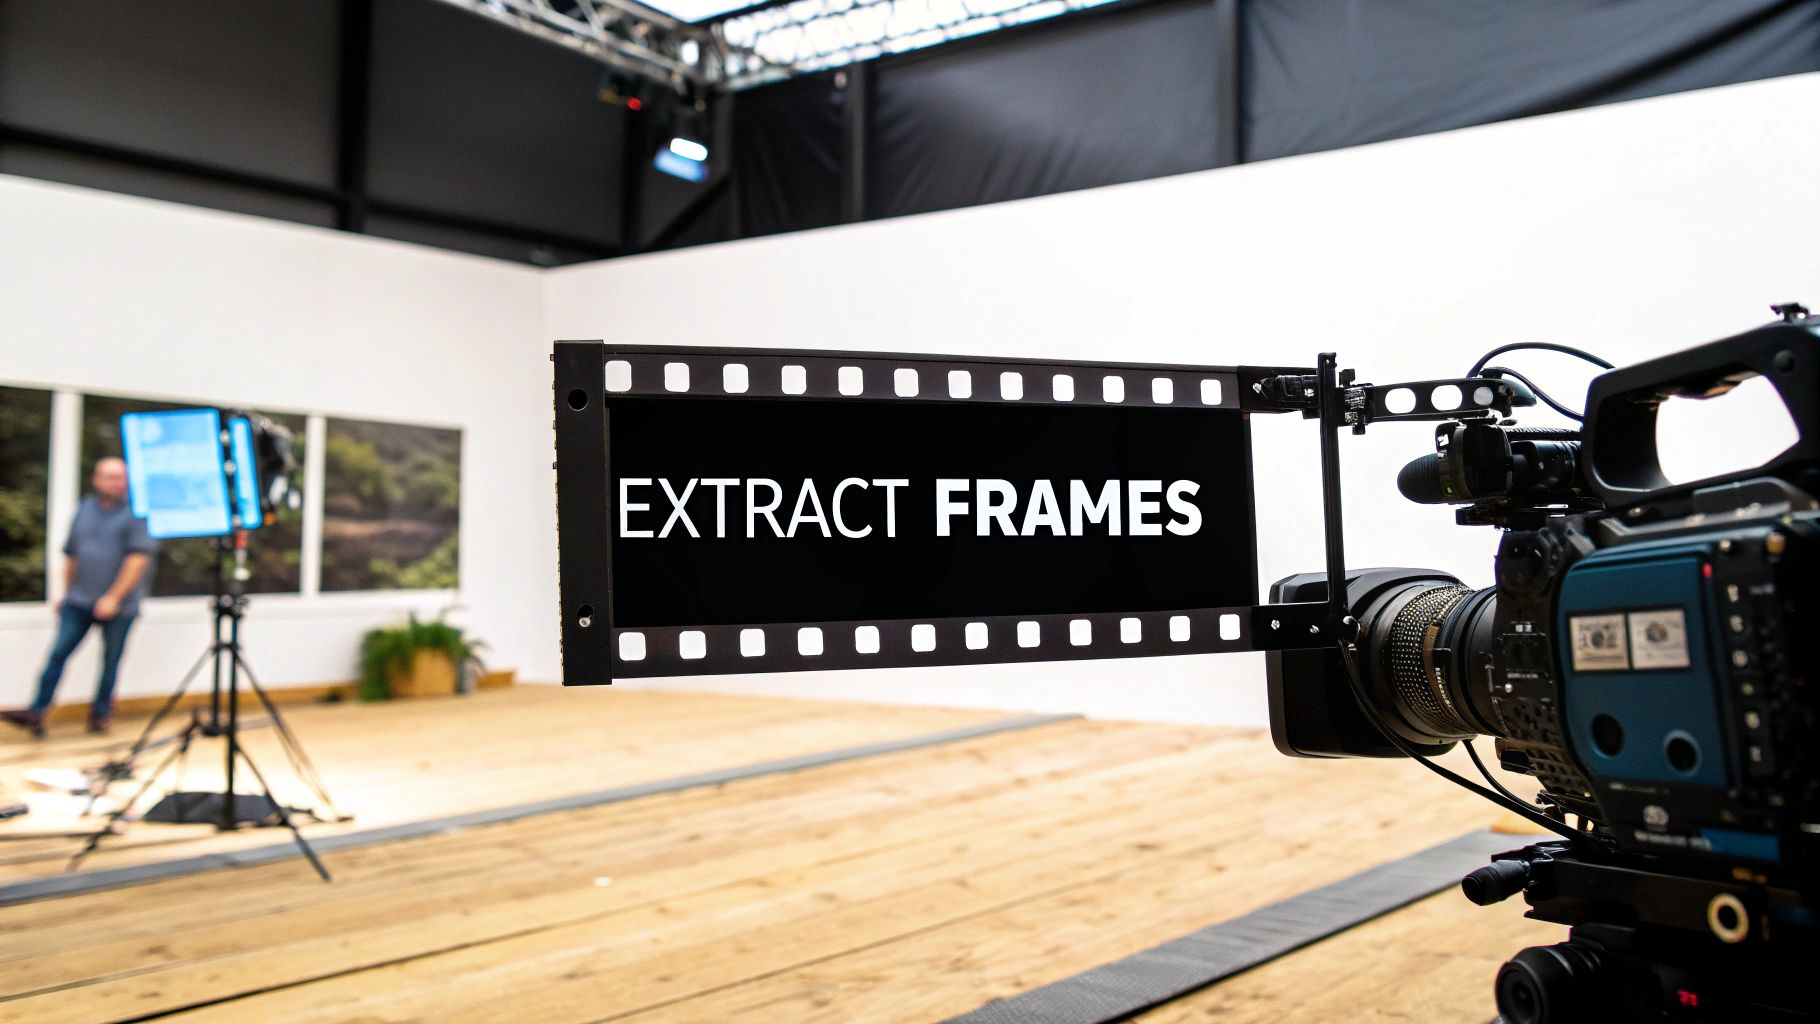
Why Frame Extraction Is a Creator’s Superpower
A vast world of creative and analytical potential lies dormant behind every play button. For professionals in the generative media space—creators, developers, and studios—a video file is far more than a linear narrative; it’s a goldmine of static assets. In my work analyzing media archives and production workflows, I’ve seen countless times how a single, perfectly extracted frame can become the cornerstone of a project. In today’s AI-driven landscape, this isn’t just a neat trick; it’s a foundational competency for market leadership.
Consider the strategic wins. You can capture one explosive moment from an action sequence to create a YouTube thumbnail with an irresistible click-through rate. Or, pull a sequence of frames to stitch together a polished stop-motion animation or a GIF that elevates your social media presence. This adds a level of professional polish that a simple screenshot can never achieve.
But the true strategic power of frame extraction runs much deeper, especially as artificial intelligence continues to reshape the creative industries. The ability to systematically extract frames from video is the gateway to a host of advanced generative techniques.
Build a More Versatile Content Library
At its core, frame extraction allows you to architect a more powerful strategic asset library:
- Repurpose Content Effortlessly: Transform a single video into a rich repository of images for your blog, social media, or ad campaigns, eliminating the need for separate photoshoots.
- Explore New Artistic Avenues: Deconstruct motion to discover unique visual styles. You could print frames for a physical art project or analyze the color story of an entire scene for brand consistency.
- Nail the Technical Details: Isolate specific frames to identify visual glitches, continuity errors, or lighting issues during post-production. It is an indispensable tool for quality assurance.
As a creator, your media library is your most valuable asset. Learning to deconstruct video into its core components—the individual frames—multiplies its value exponentially. It’s the difference between owning a book and having a searchable, indexable library of every word within it.
This process unlocks profound potential across creative, analytical, and commercial functions, turning passive media into an active, strategic resource.

For developers and studios, the stakes are even higher. Creating massive, high-quality image datasets from video is the essential first step for training custom machine learning models. This is how you build proprietary tools for object detection, scene recognition, or aesthetic analysis. It’s the foundational work for developing your own generative AI, which is the frontier of intelligent media innovation.
Your Frame Extraction Toolkit at a Glance
Choosing the right method is a critical strategic decision. Here’s a market analysis of the most popular approaches to help you align your tools with your project’s ambition and your team’s skillset.
| Method | Best For | Skill Level | Key Advantage |
|---|---|---|---|
| GUI Tools (e.g., VLC) | Quick, one-off grabs or simple projects. | Beginner | Extremely easy and accessible; no setup required. |
| FFmpeg (CLI) | Batch processing, automation, and precise control. | Intermediate | The industry-standard workhorse; powerful and scriptable. |
| Python & OpenCV | Custom workflows and integration with other tools. | Intermediate to Advanced | Total flexibility to build complex, automated pipelines. |
| Legaci.io API | Scalable, cloud-based, and automated extraction. | All Levels | A strategic asset that handles all processing; ideal for large volumes and enterprise applications. |
Each tool has its place. Your choice will depend on whether you need one perfect shot for a thumbnail or ten thousand frames to train a proprietary neural network.
Diving into the Command Line with FFmpeg
For any professional serious about video processing, one tool stands as the undisputed industry standard: FFmpeg. If you seek surgical precision, the power to automate repetitive tasks, and a level of control that GUI applications cannot offer, then mastering the command line is an essential investment.
While a text-based interface might seem intimidating, the reality is that most popular video tools you already use are likely running FFmpeg under the hood. Learning it directly means tapping into that raw power yourself. It is the key to building professional, repeatable workflows where every single frame is a calculated asset.
Your First Frame Extraction: Getting Your Feet Wet
Before executing any commands, you must install FFmpeg on your system. Their official site provides everything you need, from the latest builds to surprisingly thorough documentation. Once installed, open your terminal (or Command Prompt on Windows) and type ffmpeg -version to verify a successful installation.
The official FFmpeg website is your most valuable resource. Its density reflects its purpose as a tool built for professionals who demand ultimate control over their media.

Let’s walk through a real-world scenario. You have a new product video and require one perfect, high-quality still for a high-impact marketing email. You’ve pinpointed the exact moment at the 15-second mark.
Here’s the beautifully efficient FFmpeg command you’d use:
ffmpeg -ss 00:00:15 -i product_video.mp4 -frames:v 1 promo_shot.png
Let’s quickly deconstruct this command:
- -ss 00:00:15: This tells FFmpeg to seek to the 15-second timestamp. I always place this before the input (
-i) because it’s significantly faster—FFmpeg jumps directly to the spot instead of decoding the entire video up to that point. - -i product_video.mp4: This is your input file.
- -frames:v 1: This is the core instruction. It commands FFmpeg to grab just one single video frame and then cease operation.
- promo_shot.png: And this is your output file. I recommend using a lossless format like PNG for single shots to preserve absolute maximum quality.
Unleashing Advanced Control for Bigger Projects
This is where FFmpeg truly demonstrates its strategic value. Grabbing one frame is useful, but what if you need to create a time-lapse from hours of security footage, pulling one frame every single minute?
Observe this command:
ffmpeg -i security_footage.mp4 -vf fps=1/60 frames/output_%04d.jpg
Here, the -vf fps=1/60 command is a video filter (-vf) that sets the output frame rate (fps) to one frame per 60 seconds. The output_%04d.jpg part is an elegant method for naming your files sequentially (output_0001.jpg, output_0002.jpg, etc.). This is essential for large-scale batch processing.
My Go-To Tip: When exporting to JPG, I always add the
-q:v 2flag to the command. This flag sets the quality on a scale where2is incredibly high—virtually indistinguishable from the source for most applications, but with a much more manageable file size than PNG. This is a crucial optimization for building large datasets.
You can even begin chaining commands. What if you must extract every frame from a clip while also resizing them on the fly for a web gallery?
ffmpeg -i source_video.mov -vf scale=800:-1 gallery/frame_%05d.png
The scale=800:-1 filter resizes each frame to a width of 800 pixels, and the -1 instructs FFmpeg to automatically calculate the correct height to maintain the aspect ratio. This type of command-chaining is precisely why FFmpeg is the backbone of so many professional automated media pipelines. It’s all about operational efficiency.
Building Custom Workflows with Python and OpenCV
Sometimes, a simple command-line tool, however powerful, is insufficient. While FFmpeg is fantastic for straightforward automation, what happens when your project requires more nuance? What if you need to build intelligence into your workflow—a system that makes decisions about which frames to keep?
This is where I turn to Python, especially when paired with the incredible OpenCV (Open Source Computer Vision Library). For developers or any professional comfortable with scripting, this combination is more than just a tool to video extract frames. It’s a creative and analytical sandbox for architecting truly intelligent media pipelines.
The moment you transition from a pre-built tool to a programming language, you assume full control. You define the rules. Instead of just grabbing a frame every five seconds, you can write a script that inspects each frame on the fly. This programmatic control is the secret ingredient for an entire universe of advanced applications in generative media.

A brief look at the OpenCV website reveals the depth of its capabilities. From machine learning to computational photography, its power is vast, making it the perfect choice for our custom frame-grabbing script.
Crafting Intelligent Extraction Logic
Let’s get practical. Imagine you’ve deployed a wildlife camera to capture shots of a rare bird. You certainly do not want to manually sift through thousands of nearly identical frames of an empty landscape. You are only interested in the moments when the bird is present.
With Python and OpenCV, you can build a script to automate this analysis.
Here’s the core logic:
- The script reads your video file one frame at a time.
- For each new frame, it compares it to the previous one to detect significant motion or change.
- It then applies a simple condition: if the change between frames exceeds a predefined threshold, it saves the frame.
- If little has changed, it discards the frame and proceeds.
This conditional logic is a strategic game-changer. It not only saves a massive amount of disk space but also countless hours of manual review. You are left with a curated dataset of valuable moments. This same principle can be applied to myriad use cases, such as extracting frames that match a specific color palette for a brand mood board or isolating every instance a logo appears in a sponsored video for compliance verification.
At its core, this approach transforms frame extraction from a brute-force, mechanical task into an intelligent, decision-making process. You’re no longer just pulling a lever; you’re designing a system that thinks.
The Foundation of Modern Machine Vision
This level of fine-grained control is the bedrock of modern machine vision. While our focus here is on software, it’s insightful to see how this mirrors trends in the hardware market. The frame grabber hardware market, for instance, was valued at USD 397.10 million in 2022 and is projected to climb to USD 646.04 million by 2029. This growth is fueled by industries like manufacturing that rely on machine vision for quality control. You can explore these market trends in frame grabber technology to understand how the hardware and software worlds are evolving in parallel.
Our Python scripts represent the software side of that coin, preparing visual data for deeper analysis. In fact, these custom scripts are often the very first step in a much larger AI workflow. To take this further, see how you can integrate these techniques with other powerful systems in our guide to essential AI tools for content creators.
Grab Frames Instantly with GUI Tools
Let’s be pragmatic. While command-line wizardry and Python scripts are powerful, there are times when you simply need to pull a frame now. For creators, marketers, or anyone on a tight deadline, speed and simplicity are paramount. This is precisely where graphical user interface (GUI) tools excel. They offer a visual, click-based method to extract frames from video without ever touching a line of code.
Consider the scenario: you need a compelling thumbnail for your latest video upload, a powerful image for a blog post header, or you’re rapidly storyboarding a concept. With a GUI tool, you scrub through a visual timeline, pinpoint the exact moment, and click export. It’s direct, efficient, and democratizes frame extraction, making it accessible to everyone on a creative team, not just developers.
Familiar Tools with Powerful Secrets
Chances are, you already have one of the best free GUI tools for this task on your computer: VLC Media Player. Globally recognized as the media player that handles any file format, it also contains a simple and effective frame capture feature.
Simply play your video, pause at the perfect moment, and use a keyboard shortcut (or navigate to Video > Take Snapshot in the menu). Instantly, a high-quality frame is saved to your pictures folder. It is the digital equivalent of a perfectly timed camera shutter, capturing the scene precisely as you see it. For quick, one-off extractions, this is often the most efficient path.
If you require slightly more precision, online video editors and converters are another excellent option. These browser-based platforms allow you to upload a clip, see a frame-by-frame preview, and select specific images for download. You can often choose between formats like JPG or PNG. The primary trade-off is managing upload times and file size limitations, but for shorter clips, the convenience is undeniable.
The real magic of GUI tools is their immediacy. They cut through the abstraction of code and timestamps, letting you work with your video on a purely visual level. You see the frame you want, you click the button, and you have your asset.
This accessibility is driving massive growth in the broader frame grabber market, which is expected to expand by a remarkable USD 684.78 million by 2030. It’s a clear market signal that this technology is no longer a niche for engineers; it’s being integrated into broadcasting, live streaming, and even medical imaging. You can get a closer look at this booming market and its wide-ranging applications in this detailed 360iResearch report.
The primary limitation of many free GUI tools is output quality. The frames are perfect for web use but may lack the raw, uncompressed fidelity of the original video. If an extracted frame appears soft or pixelated, it may require enhancement. To learn more about improving image resolution, explore our guide on what is upscaling and see how it can breathe new life into your extracted frames.
Automating at Scale with the Legaci.io API
Command-line tools and local scripts are excellent for discrete projects. I use them constantly. But when you are operating at the studio level, building applications, or managing a high-volume content pipeline, you will inevitably encounter the limitations of local processing. This is where you must think bigger.
The future of professional media is not about running scripts on a single machine; it is cloud-native, scalable, and API-driven. This is the precise challenge we engineered the Legaci.io API to solve. We aimed to build an engine that empowers any creator or developer to video extract frames reliably and at massive scale, without being encumbered by the technical complexities of codecs, server infrastructure, and maintenance.

It’s More Than Just Pulling Frames
An API for frame extraction is not merely about grabbing a few JPEGs. It is about opening a gateway to the entire ecosystem of generative media. A single API call orchestrates the heavy lifting, freeing you and your team to focus on the truly innovative work that follows.
This reflects a massive industry shift away from cumbersome, localized hardware. The global market for dedicated frame grabber hardware was valued around USD 3.2 billion, and it’s projected to grow at 9.5% annually through 2033. However, as you can read more about these growth drivers, most of that growth stems from industrial applications like factory machine vision. For creative and media workflows, a flexible, cloud-based API represents the true frontier of innovation.
Building Truly Intelligent Media Applications
Once an API-first platform like Legaci.io is handling the extraction, the real magic can begin. This single, automated step becomes the foundation for a much larger, more intelligent process.
Because it’s an API, you can seamlessly pipe the output—the frames—into other services to architect powerful, chained workflows:
- Automated Analysis: Send the extracted frames to a computer vision API to automatically tag content—people, objects, settings, brand logos, and more.
- Generative Transformation: Use the frames as a starting point for a generative AI model to dream up entirely new visual styles or create derivative marketing assets.
- Dynamic Content Creation: Programmatically assemble video summaries, highlight reels, or social media carousels by identifying and utilizing the most visually compelling frames.
When you integrate frame extraction into an API-driven workflow, you stop just processing media and start building an intelligent content factory. This is how modern studios and developers achieve a competitive edge.
With this approach, you can construct incredibly sophisticated, serverless pipelines without ever touching a piece of hardware. Whether you’re building a content moderation tool, an automated video tagging system, or a next-generation creative suite, it all comes back to one fundamental need: accessing the raw visual data locked inside your videos. The Legaci.io API is designed to be that foundational building block, so you can focus on building what’s next.
Common Questions About Extracting Video Frames
As you begin to integrate frame extraction into your workflow, you will inevitably have questions. This is a process where details matter, and selecting the right method can mean the difference between a smooth, efficient operation and a day lost to frustration. I am asked these questions frequently, so let’s address the most common ones.
Consider this a strategic FAQ from a market analyst who has spent countless hours navigating the technical and creative landscape of media processing.
Can I Really Extract Every Single Frame from a Video?
Yes, absolutely. This technique is indispensable for creating high-fidelity stop-motion clips, ultra-smooth GIFs, or for conducting a deep, frame-by-frame analysis for technical or creative purposes.
With a tool like FFmpeg or a custom Python script, the command is as simple as instructing it to match the video’s native frame rate. For example, for a video shot at 30 frames per second (fps), you would configure your extraction command to pull 30 images for every second of footage. This ensures you get a perfect, one-to-one digital copy of every single frame as an individual image file.
Capturing every frame is the foundation for any serious motion analysis or artistic deconstruction. It provides the ultimate temporal resolution, ensuring no detail is missed between the key moments.
What’s the Best Format to Save the Extracted Frames?
The “best” format is determined entirely by the intended application of the images. It is always a strategic trade-off between visual fidelity and file size. Here is my decision-making framework:
- PNG (Portable Network Graphics): This is my default for any asset that must be visually pristine. PNG uses lossless compression, yielding a perfect pixel-for-pixel copy of the original frame without compression artifacts. It is ideal for high-quality web graphics, thumbnails, or any use case where visual integrity is non-negotiable.
- JPG/JPEG (Joint Photographic Experts Group): When file size and storage efficiency are the primary concerns, JPG is the logical choice. It uses lossy compression, which dramatically reduces file size at the cost of a small amount of image data. For building massive datasets for machine learning, this is often the most practical and economical choice.
- TIFF (Tagged Image File Format): For archival purposes or professional print work, TIFF is the industry standard. It can save images completely uncompressed, delivering the absolute highest quality possible. Be prepared for very large file sizes.
How Do I Keep the Original Resolution and Quality?
This is a critical point. Nothing is more disappointing than extracting frames only to find they are blurry or less sharp than the source video. The key is to bypass any re-encoding or resizing operations during the extraction process.
When using FFmpeg, commands like -q:v 1 or -qscale:v 2 instruct the tool to preserve maximum quality. Most high-quality GUI tools will also feature an “original size” or “maximum quality” setting. My professional advice is to always run a small test batch and meticulously inspect the first few frames to ensure they meet your quality standards before processing an entire video. For a deeper look at intelligent media processing, explore our guide to the top AI tools for content creation.
Ready to move beyond manual scripts and build truly intelligent media workflows? With the Legaci Studios API, you can automate frame extraction at scale and connect it to a universe of generative AI possibilities. Start building the future of media with us.
Leave a Reply